Searching for an easy DIY closet organizer in less than 2 hours? We’ve got the solution for you. Instead of paying hundreds of dollars to redo your closet at your local home improvement store, check out what we did.
Checklist:
- Used bookcase ( we purchased it on offerup for $20)
- Drill
- Screws
- Handsaw, circular saw or table saw (we used a circular saw)
- Crowbar (optional)
- Reuse shelf, rods and other materials that are still in good condition
- Sawhorse or something to lay wood across for cutting
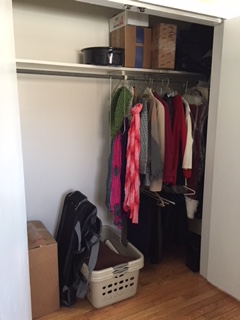
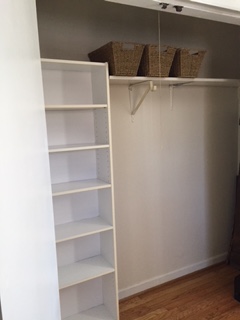
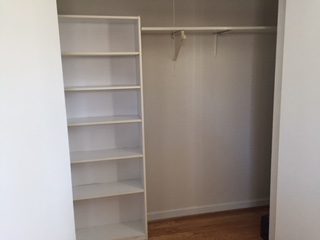
Before After
Steps:
- Begin by deciding if you want the shelves on the left, center or right of your closet.
- Measure the distance from your bookcase to the side walls so you will know where to cut the shelf and rod.
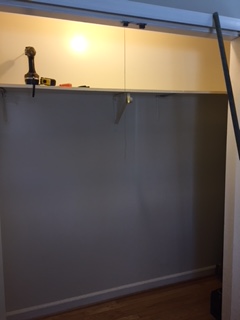
- Please bookshelf against the wall and use drill to put screws in the cabinet for positioning. I used two screws on the left side of the cabinet and the molding on the floor to hold it in place. First drill holes for the screws and place put in place.
- If using the molding, use the crowbar to room it and measure where to cut so it will be flush against the bottom of the shelf unit.
- Cut molding if needed.
- Please molding back against the bookshelf.
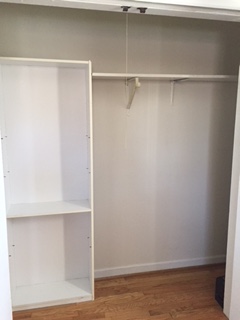
- Next, measure the shelf and cut to fit against the bookshelf.
- Replace the shelf in the closet.
- Measure and cut the rod to fit against the bookshelf.
- Replace the rod in the closet and enjoy your new closet organizer.
We would love to see what you come up with. Please share your ideas with us.
